 Ferndale Siding
 Siding Installation Built for Sumas' Corner of Whatcom County
Homes around Sumas and Ferndale take a different kind of beating than a typical suburban house on the dry side of the state. Between marine-influenced air, wind-driven rain off the surrounding lowlands, and long stretches of gray, damp weather that keep exterior walls wet for days at a time, siding here has to work harder than the brochure photos suggest. When we install siding for a customer in this area, we're not applying a generic product to a generic wall. We're accounting for a specific set of conditions that determine whether a siding job looks good for five years or holds up for thirty.
This page is about one job in one place: installing siding correctly on a home in and around Sumas. We'll walk through what the climate actually does to exterior walls, what a correct installation involves, why we've standardized on one product line, and what our process looks like from first estimate to final walk-through.
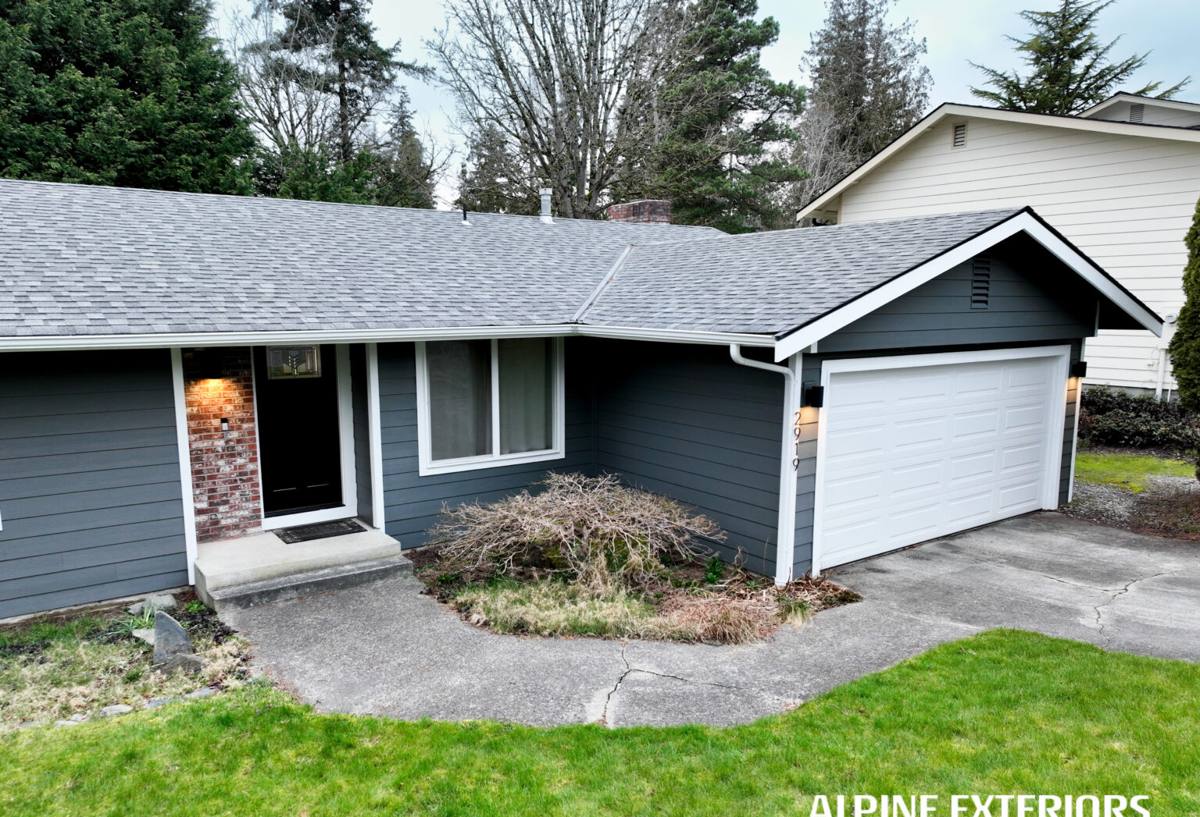
What This Climate Does to Siding Over Time
Whatcom County sits in a stretch of the Pacific Northwest where moisture is the dominant force acting on a home's exterior. It's not one dramatic storm that causes damage — it's the slow, repeated cycle of wet-then-dry, year after year, that wears materials down.
Salt-Tinged, Moisture-Heavy Air
Proximity to the Salish Sea and Puget Sound means the air moving through this region carries more moisture and mineral content than inland climates. That air settles against exterior walls, works into seams and fastener holes, and slowly degrades materials that aren't built to resist it. Paint film breaks down faster. Untreated wood fibers swell and contract. Metal fasteners and trim corrode ahead of schedule if they aren't the right grade.
Driving Rain
Rain in this part of Washington doesn't just fall straight down — wind pushes it sideways into wall assemblies, especially on exposed elevations and around window and door openings. If the water-resistive barrier, flashing, and siding laps underneath aren't installed in the correct order and overlap, wind-driven rain finds its way behind the cladding. Once moisture gets behind siding, it can sit against sheathing and framing for weeks before anyone notices, since the visible surface can look fine while damage builds underneath.
A Long Moss and Mildew Season
Shaded, north-facing walls and areas near trees and dense landscaping stay damp for extended stretches, especially through fall, winter, and spring. That's exactly the environment moss, algae, and mildew need to take hold. On siding materials that absorb moisture or hold it at the surface, that growth isn't just cosmetic — it keeps the material wetter, longer, which accelerates whatever degradation is already underway.
What a Correct Siding Installation Actually Involves
The siding itself is only part of the system. Most siding failures we're called out to inspect trace back to installation shortcuts, not the product. A correct job includes several layers most homeowners never see once the job is done.
- A continuous, properly lapped water-resistive barrier installed over the sheathing before any siding goes on
- Correctly integrated flashing at every window, door, deck ledger, and roof-to-wall transition — installed shingle-style so water sheds outward and down, never inward
- Proper clearance between the bottom edge of the siding and grade, decks, patios, and roof lines, so splash-back and standing water can't wick into the material
- Fasteners sized, spaced, and driven to the manufacturer's specification — overdriven or underdriven nails are one of the most common causes of early siding failure
- Correct panel and joint spacing to allow for the material's normal expansion and contraction
- Sealed and caulked penetrations at every fixture, vent, and utility entry point, using products rated for the material and this climate
Skip any one of these steps and the siding can look correct for a year or two while moisture quietly builds a problem behind it. This is why we treat installation sequencing as seriously as the material choice itself.
Why We Install Only James Hardie Fiber Cement
We made a deliberate decision to install one siding system: James Hardie fiber cement. We don't offer vinyl, LP SmartSide, primed wood, cedar, or other fiber cement brands, and that's worth explaining rather than just stating.
Fiber cement is dimensionally stable — it doesn't expand, contract, warp, or rot the way wood-based products can, which matters directly in a climate that cycles between wet and dry so often. It's non-combustible, which is an increasingly relevant consideration as wildfire smoke and regional fire risk get more attention across Washington. James Hardie's ColorPlus factory finish is baked on under controlled conditions, which holds up better against the region's moisture and UV exposure than field-applied paint, and it's backed by a real, transferable warranty on both the substrate and the finish. Hardie also engineers specific product lines (its HZ5 formulation) for wetter climate zones like ours, rather than selling one product everywhere.
None of this means other products are junk — vinyl and engineered wood sidings have legitimate uses and reasonable price points. We simply concluded, after years of installing and repairing siding in this region, that fiber cement gives homeowners here the best long-term outcome for the moisture and moss exposure they're actually dealing with, and we'd rather install one product well than several products at varying levels of confidence.
Comparing Siding Options in This Climate
| Factor | James Hardie Fiber Cement | Vinyl | Untreated Wood / Primed Spruce |
|---|---|---|---|
| Moisture resistance | Does not rot or swell; engineered HZ formulations for wet climates | Won't rot, but can warp and gap, opening paths for water intrusion | Absorbs moisture readily; prone to rot without diligent upkeep |
| Moss/algae resistance | Factory finish resists staining better than raw or field-painted surfaces | Moss and mildew can still take hold in shaded, damp areas | Highly susceptible, especially on shaded elevations |
| Fire resistance | Non-combustible | Combustible, can melt or deform near heat sources | Combustible |
| Finish longevity | Factory-applied ColorPlus finish, long warranty on finish and substrate | Color molded in, but can fade and chalk over time | Field-applied paint or stain needs recoating every few years |
| Long-term maintenance | Periodic caulk/paint touch-up at trim; otherwise low | Low, but cracking/warping repairs can be difficult to match | Regular painting, sealing, and rot inspection required |
Our Installation Process
We keep the process straightforward because homeowners deserve to know exactly what's happening at each stage.
1. On-Site Assessment
We walk the exterior with you, checking existing siding condition, moisture damage, trim, flashing, and any problem areas — particularly shaded walls and spots near grade where moss and standing water tend to collect.
2. Estimate and Product Selection
We recommend the right James Hardie profile and color for the home, explain the scope of work in plain terms, and provide a written estimate with no pressure to decide on the spot.
3. Removal and Substrate Inspection
Old siding comes off and we inspect the sheathing underneath. Any rot, soft spots, or water damage gets addressed before new material goes up — covering a damaged substrate with new siding just hides the problem.
4. Weather Barrier and Flashing
We install the water-resistive barrier and all flashing details correctly lapped, sealed, and integrated with windows, doors, and roof transitions.
5. Siding Installation
Hardie panels or lap siding go up to manufacturer specification for fastening, spacing, and clearance, with careful attention to the joints and penetrations most likely to leak if rushed.
6. Final Walk-Through
We review the finished work with you, cover care and maintenance basics, and make sure every question is answered before we call the job done.
Signs a Sumas-Area Home May Need New Siding
- Persistent moss or algae staining that comes back shortly after cleaning
- Paint that's peeling, bubbling, or chalking faster than it used to
- Soft or spongy spots when you press on the siding, especially near the bottom edge
- Visible warping, buckling, or gaps between panels
- Rising energy bills that suggest the wall assembly isn't insulating or sealing the way it should
- Cracked or missing caulk around windows, doors, and trim
- Interior signs like musty smells or discoloration on walls that share an exterior surface
Why Local Experience Matters for This Job
Siding installation isn't identical from region to region, and a crew that mostly works dry-climate jobs can make assumptions that don't hold up here. A contractor who regularly works the Ferndale and Sumas area already understands which elevations take the worst weather exposure, where moss problems tend to concentrate, and how to sequence a job around the wetter stretches of the year so the work isn't compromised by rain during installation. That local pattern recognition is difficult to replace with a generic install checklist, and it's part of why we focus our work in this part of Whatcom County rather than spreading thin across unfamiliar territory.
If you're weighing a siding replacement or new installation for a home in the Sumas or Ferndale area, we're happy to take a look and give you a straightforward, no-pressure estimate. Use the form below to get started.