 Ferndale Siding
 Building New in Birch Bay? The Windows Deserve as Much Attention as the Framing
Birch Bay sits right on the water, and that changes what a window install needs to survive. A new-construction window job isn't just "put the window in the hole" — it's a sequence of flashing, sealing, and integration with the house wrap that determines whether that window is still performing correctly in fifteen years or leaking into the wall cavity in five. On a new build, you get exactly one chance to do this right before the siding goes on and covers up the evidence.
We install new-construction windows for homeowners and builders working in Birch Bay and throughout Whatcom County. This page covers what the job actually involves, what the local climate demands, and how our process works when we're brought in during a build.
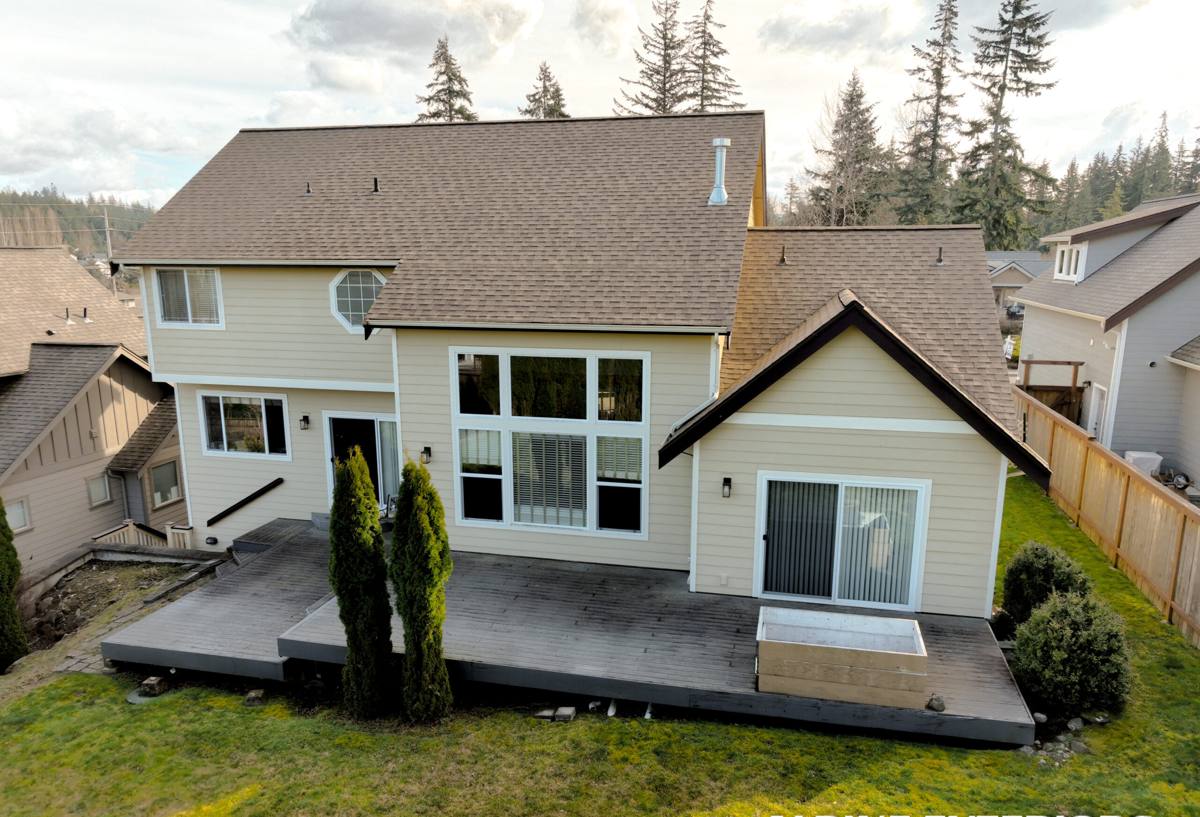
Why Birch Bay's Climate Changes the Window Equation
Birch Bay isn't just "rainy Pacific Northwest" — it's coastal. That combination of salt air, wind-driven rain off the bay, and a long moss season creates conditions that inland Whatcom County homes don't deal with in the same way.
Salt Air
Airborne salt accelerates corrosion on exposed hardware — hinges, locks, cranks, and especially any fasteners that aren't rated for coastal exposure. It also breaks down cheap sealants and finishes faster than they'd wear inland. This is why fastener and hardware selection matters more here than it does thirty minutes east.
Driving Rain
Wind off the water doesn't just drop rain straight down — it pushes it sideways, into any gap in the flashing or sealant that a calmer climate might tolerate for years before it becomes a problem. On a new build, the flashing detail around each window opening is the single biggest factor in whether wind-driven rain stays out or finds its way behind the siding.
Moss and Prolonged Dampness
Whatcom County's long wet season means anything that stays damp for extended stretches — a sill that doesn't shed water, a corner where flashing overlaps incorrectly — becomes a growth surface for moss and mold, and eventually a rot risk in the surrounding framing. Correct slope and drainage at the sill isn't cosmetic; it's what keeps water moving away from the wood.
What Correct New-Construction Window Installation Actually Involves
"New-construction" windows have a nailing fin around the frame, meant to be installed before the exterior siding or cladding goes on — as opposed to replacement windows, which are set into an existing opening without disturbing the exterior finish. Because the opening is still exposed during a new build, this is the point where the water-management details either get built in correctly or get buried under siding and become a much more expensive problem to fix later.
- Rough opening checked for square, level, and correct size before the window ever shows up on site
- Sill pan flashing installed first, sloped to shed any water that gets past the window to the outside, not into the wall
- Weather-resistive barrier (house wrap) integrated with the flashing in the correct shingle-lap order — bottom to top, so water always flows over the next layer down
- Window set, shimmed plumb and square, and fastened through the nailing fin per the manufacturer's schedule
- Flashing tape or flexible flashing applied over the fins and up the jambs, then over the head flashing last
- Interior and exterior sealant applied at the correct points — not everywhere, since some gaps are intentionally left open to let the assembly drain and dry
- Final check for operation, square, and a visual water-path inspection before siding crews close it in
Skipping or reordering any one of these steps is how a brand-new window ends up with a moisture problem before the house is even finished. The flashing sequence is not negotiable, regardless of how good the window itself is.
Window Material Options for Coastal New Construction
Every frame material has trade-offs, and for a build in a salt-air, high-rain environment like Birch Bay, those trade-offs matter more than they would inland.
| Material | Coastal Performance | Maintenance | Typical Fit |
|---|---|---|---|
| Vinyl | Good — won't corrode; UV-stable frames hold up well near the water | Low — occasional cleaning, no repainting | Most budget-conscious new builds |
| Fiberglass | Excellent — very stable in wet, salty conditions; resists warping | Low | Higher-end new construction, larger openings |
| Wood/Wood-Clad | Fair to good depending on cladding — exposed wood needs protection from salt and moisture | Higher — finish and sealant need periodic attention | Homes prioritizing a specific interior look |
| Aluminum | Poor without a marine-grade finish — prone to corrosion and condensation near the water | Moderate to high | We generally steer builds away from this near the bay unless it's a specialty application |
We're not tied to one brand or line — the right call depends on the home's design, budget, and how exposed the elevation is to prevailing wind and rain. What we won't do is install a frame material that we know struggles in this specific environment just because it's cheaper up front; that's a maintenance and warranty headache we'd rather explain honestly than hand off to you later.
Glazing Worth Asking About
For a coastal build, double-pane with a low-E coating and argon fill is the practical baseline — it manages condensation and heat loss reasonably well without the added cost of triple-pane, which is usually overkill for this climate zone unless the home has an unusually exposed north or west face. Ask about the U-factor and condensation resistance rating on any window package a builder proposes; those two numbers tell you more about real-world performance than the marketing sheet does.
Our Process When We're Brought In on a New Build
Whether you're an owner-builder or working with a general contractor, here's how we typically fit into the schedule:
1. Plan Review and Site Visit
We look at the window schedule, rough opening sizes, and the home's orientation relative to prevailing wind and rain off the bay. Elevations facing open water or exposed wind lines sometimes warrant a more robust flashing detail or hardware upgrade than a sheltered side of the same house.
2. Coordination With Framing
Rough openings need to be correct before windows arrive — too tight or too loose both cause problems. We flag sizing issues early rather than forcing a window into an opening that isn't right.
3. Flashing and Installation
This is the core of the job, covered above — sill pan, shingle-lap house wrap integration, fin fastening, and flashing tape in the correct order, on every opening, every time. We don't vary this sequence by job to save time.
4. Pre-Siding Inspection
Before siding crews close the wall up, we do a final check of every opening. This is the last point where a flashing mistake is cheap to fix — once siding is on, it's a tear-off.
5. Final Operation Check
Every window gets tested for smooth operation, proper latch engagement, and a visual seal check once the exterior is finished.
Cost Factors on a New-Construction Window Package
Pricing on new-construction windows varies by project, but the factors that move the number are consistent:
| Factor | Why It Matters |
|---|---|
| Number and size of openings | More glass and larger units mean more material and labor |
| Frame material | Vinyl runs lower, fiberglass and clad-wood run higher |
| Glazing package | Upgraded low-E coatings or specialty glass add cost per unit |
| Elevation exposure | Openings facing open wind and rain may warrant upgraded flashing details |
| Access and timing | Coordinating install around a build schedule affects labor efficiency |
| Custom or specialty shapes | Non-standard sizes or shapes (arched, oversized) cost more than stock sizes |
We'll walk the plans with you and give a straightforward number before work starts — no surprises added mid-build.
A Practical Checklist Before You Finalize Your Window Package
- Confirm frame material matches the home's coastal exposure, not just the budget
- Check the U-factor and condensation resistance rating, not just the price per unit
- Ask who is responsible for flashing detail — the window installer or the siding crew — and make sure it's not left ambiguous
- Verify hardware (hinges, locks, cranks) is rated for coastal/marine conditions
- Confirm sill pan flashing is included in the install scope, not treated as optional
- Ask for a pre-siding inspection step to be built into the schedule
- Get the warranty terms in writing — both the manufacturer's and the installer's labor warranty
Why It Matters to Hire a Crew That Already Works Birch Bay
A window crew that mostly works inland doesn't think about salt-rated hardware or wind-driven rain by default — it's not wrong on their part, it's just not the environment they're used to solving for. Working new construction in Birch Bay specifically means we already account for prevailing wind exposure by elevation, the extended wet season's effect on drying time between install steps, and the corrosion risk that comes with being this close to the water. None of that is exotic, but it does need to be built into the plan from the first rough opening, not corrected after the siding's already up.
We also work regularly alongside builders and GCs in Whatcom County, so we understand how to slot into a build schedule without becoming the bottleneck — showing up when the rough openings are ready, working around other trades, and flagging framing issues before they become install-day problems.
Get a Free Estimate for Your Birch Bay New-Construction Windows
If you're planning a new build or addition in Birch Bay, we're glad to review your plans, walk the site, and give you a straightforward estimate on window installation — no pressure, no upsell. Use the form below to get started.