 Ferndale Siding
 Building New in the Sumas Area? The Windows Are Where Problems Start
When a home is going up from the studs out, the window openings are one of the few places where a small mistake gets sealed behind siding and trim for the next twenty years before anyone notices. In Whatcom County, that mistake shows up faster than in drier parts of the state. Between salt-laden air moving inland off the Strait, long stretches of driving rain, and a moss season that keeps north-facing walls damp for months at a time, a window opening that isn't flashed and sealed correctly doesn't just leak — it feeds rot into the framing around it before the drywall is even painted.
We install new-construction windows for homes and additions in and around Sumas as part of our regular service area out of Ferndale. This page is about that specific job: setting windows into new framing correctly the first time, so the siding crew that follows us — whether that's us again or another contractor — is closing up a wall that's actually protected, not one that looks fine until the next wet winter.
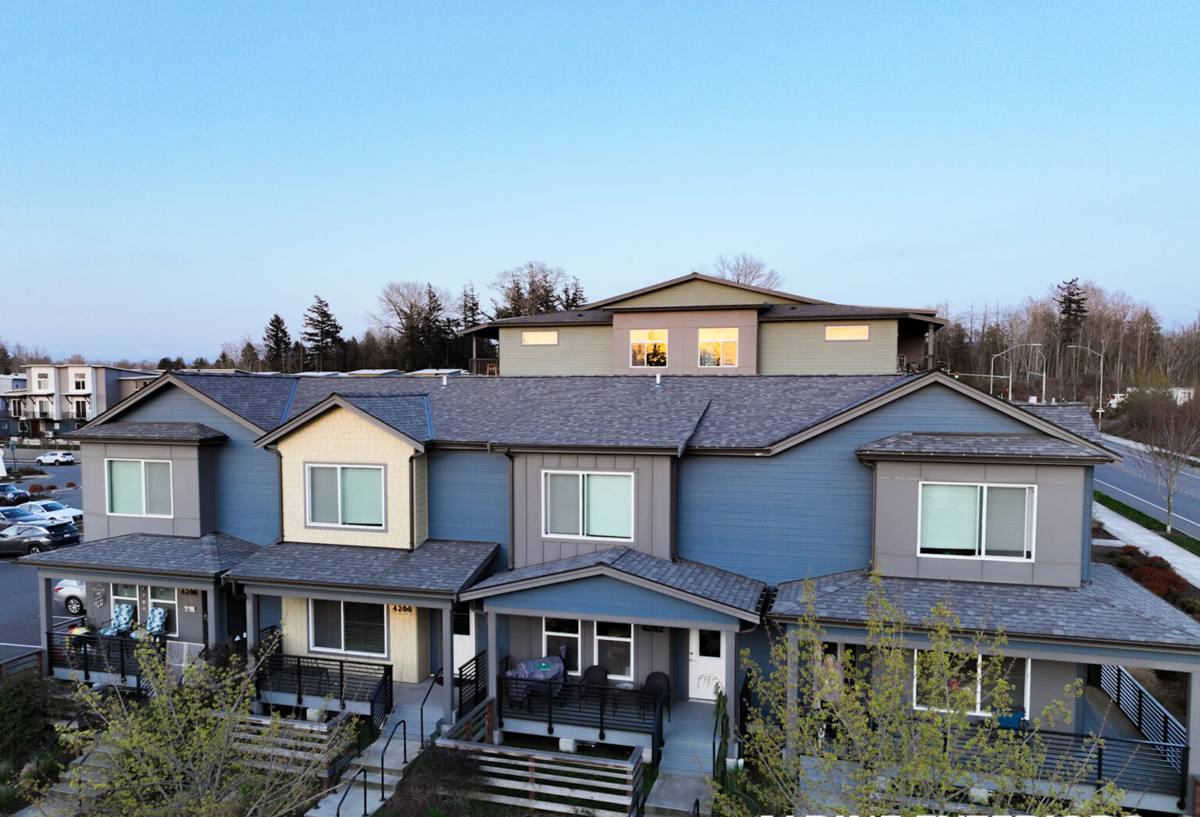
What Local Conditions Demand From a New Window Opening
A window that's just "installed" and a window that's installed for this climate are two different jobs. A few things we plan around on every Sumas-area project:
- Driving rain: Wind-driven storms push water sideways into wall assemblies, not just straight down. Flashing details that rely on gravity alone aren't enough here.
- Persistent moisture and moss growth: Shaded and north-facing walls stay damp long after a storm passes, which means any gap in the water-resistive barrier around a window has more time to do damage before it dries out.
- Salt-influenced air: Proximity to the Sound and Strait means metal flashing, fasteners, and hardware see more corrosion pressure over time than they would further inland.
- Temperature swings between seasons: Framing lumber moves seasonally, and window openings need enough tolerance and proper sealant to handle that movement without cracking the seal.
None of this is exotic — it's standard Pacific Northwest building science. But it only matters if the crew installing the window actually accounts for it, which is where a lot of new-construction window jobs quietly go wrong.
New-Construction Windows vs. Replacement Windows: Not the Same Job
We get calls where a homeowner or builder assumes "window installation" is one service. It isn't. New-construction windows have a nailing fin around the perimeter that gets fastened directly to the sheathing and integrated into the wall's water-resistive barrier before siding goes on. Replacement windows go into an existing finished opening, usually without disturbing the exterior wall covering.
New construction gives us more control — we're building the water management system from scratch, in the correct order, with full access to the sheathing and framing. That's an advantage if it's done right. It's also less forgiving, because there's no siding or trim hiding a shortcut. Get the sequence wrong on a new build and you've built a leak into the wall before the house is even finished.
Where This Matters Most on a New Build
South and west-facing walls take the brunt of driving rain in most Sumas-area lots, so we pay particular attention to sill pan installation and flashing overlap on those elevations. North-facing walls, which stay damp longer through moss season, get the same rigor on the water-resistive barrier integration even though they see less direct rain.
The Flashing Sequence: The Part That Actually Prevents Leaks
This is the technical core of a correct new-construction window install, and it's the part that's easiest to rush. The order matters — each layer has to shed water onto the layer below it, like shingles, so nothing ever traps moisture behind the window.
- Rough opening prep: Confirm the opening is square, correctly sized, and the sheathing is sound before anything else happens.
- Sill pan flashing: A sloped, sealed pan at the bottom of the opening so any water that does get past the window has a path to drain back outside instead of sitting on the sill.
- Jamb and head flashing tape: Applied in the correct shingle-lap order — sides before the top — tied into the wall's water-resistive barrier.
- Window setting and shimming: Set plumb, level, and square, with the nailing fin fastened per the manufacturer's schedule — not just "enough nails to hold it."
- Head flashing over the window: Installed last at the top so it laps over the jamb flashing and directs water outward and down, away from the header.
- Interior and exterior sealant: Backer rod and sealant at the interior air seal, plus exterior sealant only where the manufacturer specifies it — over-sealing the exterior can trap moisture instead of releasing it.
Skip or reorder any one of these steps and the whole system stops working, even if the window itself is a good product. This is also the sequence most likely to get rushed on a tight framing schedule, which is exactly why we treat it as its own dedicated stage of the job rather than something squeezed in between other trades.
Choosing Window Materials for This Climate
We install several window materials and don't push one brand as a cure-all — the right choice depends on the home's design, budget, and how much upkeep the owner wants to take on. Here's how the common options compare for Whatcom County's conditions:
| Material | Moisture Performance | Maintenance | Typical Cost Position |
|---|---|---|---|
| Vinyl | Good — won't rot or corrode; seams need proper installation to stay tight | Low — no painting, occasional cleaning | Most affordable |
| Fiberglass | Very good — dimensionally stable across seasonal swings, resists moisture well | Low to moderate | Mid to upper-mid range |
| Wood-clad (exterior clad, wood interior) | Good on the exterior if cladding is intact; interior wood needs protection from condensation | Higher — clad seams and any exposed wood need monitoring | Highest |
| Aluminum | Poor without thermal breaks — prone to condensation and, near the coast, corrosion | Moderate | Varies |
For most new builds in the Sumas area, we steer homeowners toward vinyl or fiberglass for the moisture and corrosion resistance, reserving wood-clad for design-driven choices where the owner understands the added upkeep. We're straightforward about that trade-off up front rather than letting it surprise someone five years in.
Working Inside a New-Construction Schedule
New-construction window work rarely happens in isolation — we're one stage in a sequence that includes the framer, the siding crew, and often a general contractor keeping the whole project on schedule. A few things we handle as standard practice:
- Verifying rough openings before the windows arrive on site, so sizing problems get caught before install day, not during it.
- Coordinating timing with the water-resistive barrier installation, since window flashing has to integrate with it in the correct order.
- Documenting the flashing details as installed, which matters for inspections and gives the siding crew a clear picture of what they're building on top of.
- Communicating directly with the GC or builder on schedule changes, since a delayed framing stage shifts our install window too.
If you're a homeowner working with your own general contractor, we're used to plugging into that structure rather than requiring you to manage us separately.
What to Check Before Hiring a New-Construction Window Installer
Because this work gets covered up quickly, it's worth vetting the crew before the windows go in rather than trying to diagnose a leak two years later. A short checklist worth asking about:
- Do they install a dedicated sill pan on every opening, or only "when needed"?
- Can they describe their flashing sequence without hesitating — sill, jambs, head, in that order?
- Do they follow the specific window manufacturer's installation instructions for fastening and sealant, since these vary by product and affect warranty coverage?
- Are they used to working alongside framers and siding crews on active job sites, not just standalone replacement jobs?
- Will they document flashing details before they're covered by siding, for inspection and future reference?
If a contractor can't speak clearly to the flashing sequence specifically, that's worth treating as a red flag on a new build in this climate — it's the single detail most responsible for whether the wall stays dry.
Get a Straightforward Estimate
If you're framing a new home or addition in the Sumas area and need windows installed correctly the first time, we're happy to walk the plans or the job site with you and put together a clear, no-pressure estimate. Reach out through the form below and we'll get back to you with next steps.